安装nodeJS以及hexo框架的踩坑笔记
详细入门网站
- 版本问题:
一开始使用的是最新版本的NodeJS然后安装完成Hexo之后发现不能在控制台使用hexo init blog,显示hexo不是命令。
然后使用HodeJS12.0.0,自带npm,安装完成(注意不要使用13等版本,npm不是支持每个nodeJS版本) - 假如直接
git clonehexo的仓库报错的话可能是换设备之后 无法通用 ,还是需要在 原设备 上才能打的开
- 假如重装hexo失败的话,删除图中文件夹下的hexo有关的所有内容

- 安装完成之后在控制台输入以下代码,假如没有报错而且能够正确显示版本号的话说明安装成功
node -vnpm -v
- 另注意,假如安装完nodeJS之后,输入
node -v得到的版本和安装的 不同 ,此时需要将NodeJS卸载然后安装在 默认的安装位置 。注意,AMD CPU的计算机下载x86的,Intel的下载x64的msi安装文件
插入图片问题
有时候插入的图片会加载失败比如显示为 ,此时可以通过以下几步解决问题
首先,在source目录下新建一个文件夹比如imgs
然后把typora的根目录设置为source
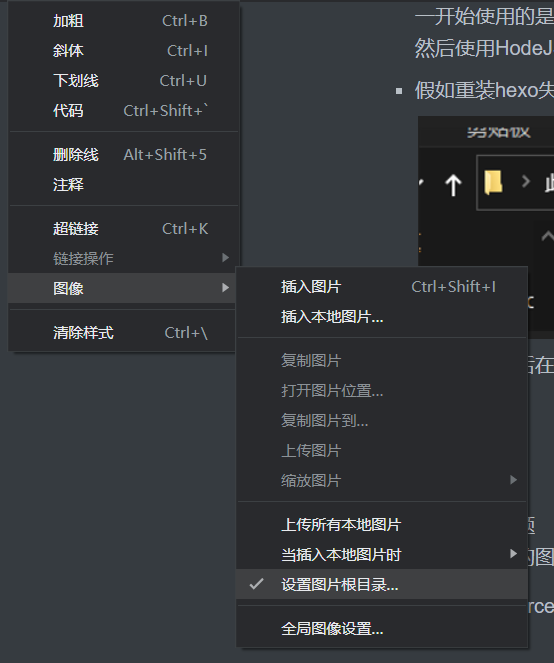
然后设置将图片复制到imgs下
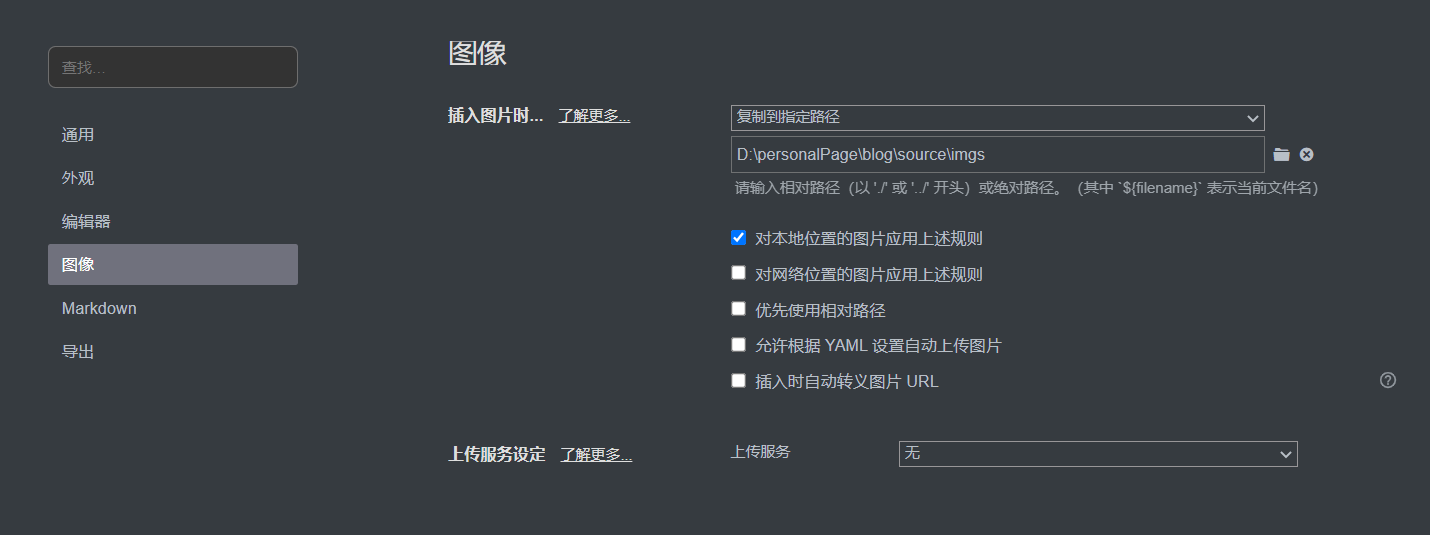
配置好上述功能之后,直接把用到的图片从剪贴板复制到typora即可
不要安装网上博客说的插件,安装之后可能无法启动网站
也不需要在config中开启每新建一篇博客就新建一个文件夹之类的选项,反而更麻烦
修改主题
从github将主题项目git clone到blogs的\themes\<主题名称>文件夹,然后将总目录下的_config.yml中的theme更换为<主题名称>
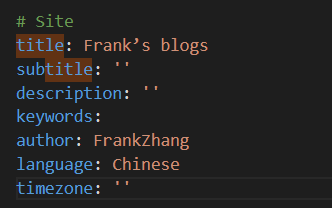
假如无法clone的话,可以将项目打包下载然后解压到同样的文件夹中即可设置个人信息如下图
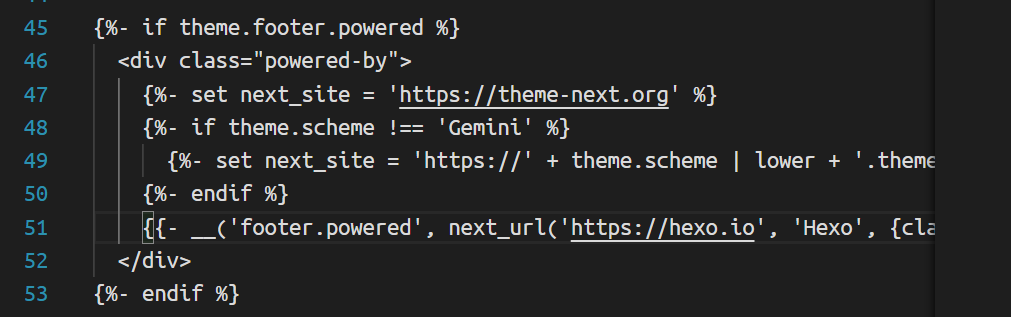
此外,在主题的配置文件中(也是
_config.yml)也有一些可以修改的地方,可以自己动手改一改在推送网站之前需要安装一个git配合插件
npm install hexo-deployer-git --save
hexo部署的踩坑
- 部署的时候不能在/sources下执行
hexo clean,hexo g等脚本,需要在博客的根目录下执行脚本,否则会导致博客部分内容不更新(比如tags),引起新创建的tags不读取和无法打开含有对应tags的文章的问题 - 一键部署的脚本
- 此脚本运行的时候将自己的位置切换到了自己所在位置的上一级目录
- 执行结束后会自动切回去
# Set the error preference to stop the script on any command failure
$ErrorActionPreference = 'Stop'

# Save the current working directory
$originalLocation = Get-Location

# Change directory to the parent directory of the script's directory
Set-Location (Join-Path $PSScriptRoot "..")

try {
    # Define a function to execute a command and check if it was successful
    function Invoke-HexoCommand {
        param(
            [string]$Command
        )
        Write-Host "Executing command: $Command" -ForegroundColor Cyan
        Invoke-Expression $Command
    }

    # Execute Hexo commands
    Invoke-HexoCommand "hexo clean"
    Invoke-HexoCommand "hexo g"
    Invoke-HexoCommand "hexo d"

    # Print the new working directory to confirm
    Write-Host "Current working directory is now: $(Get-Location)"
    # Command execution completed message
    Write-Host "Hexo site cleaning, generation, and deployment completed." -ForegroundColor Green -BackgroundColor White
} catch {
    # Handle exceptions here if needed
    Write-Host "An error occurred: $_" -ForegroundColor Red
} finally {
    # Restore the original working directory
    Set-Location $originalLocation
    Write-Host "Returned to the original directory: $originalLocation"
}
更换设备
- 注意更换设备的时候不能简单的
git clone,这样的话是无法打开的。只能自己在本地新建一个博客,然后将source和themes以及config文件和文件夹都 复制进去
部署的地址
- 部署的时候 不能使用 网页上的教程repo地址如图

需要直接写成自己的仓库地址+.git,比如

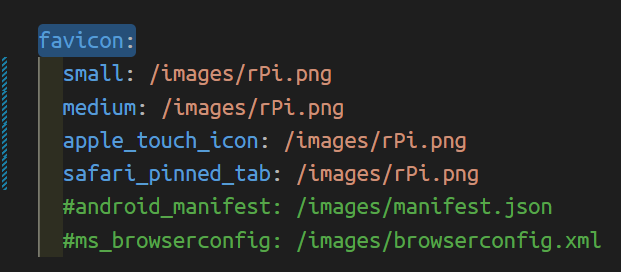
- 此外,相关的 url和root 配置如下;

即可正常显示
向服务器提交过程
hexo clean
hexo g
hexo d
gitee网站教程
https://gitee.com/help/articles/4136#article-header0
vscode markdown插件(相对方便,但是不支持图片复制,建议还是用typora)
office viewer